A Home Assistant Zigbee setup with ZHA is a short chain of tasks: choose and plug in a coordinator, add the integration, check the channel, pair your devices, then keep the mesh healthy. The official pages do not number these as five steps; we group their guidance that way. We tested nothing, and we did not build a network. Where the pages are silent, we say “we could not confirm.”
If you are still choosing between ZHA and the alternative, see our ZHA vs Zigbee2MQTT comparison. If you are still weighing radio protocols, see Zigbee vs Z-Wave vs Thread vs Wi-Fi in Home Assistant. Here we assume you picked ZHA. We give no prices, and no ranking of our own.
Table of Contents
Home Assistant Zigbee setup in 5 steps
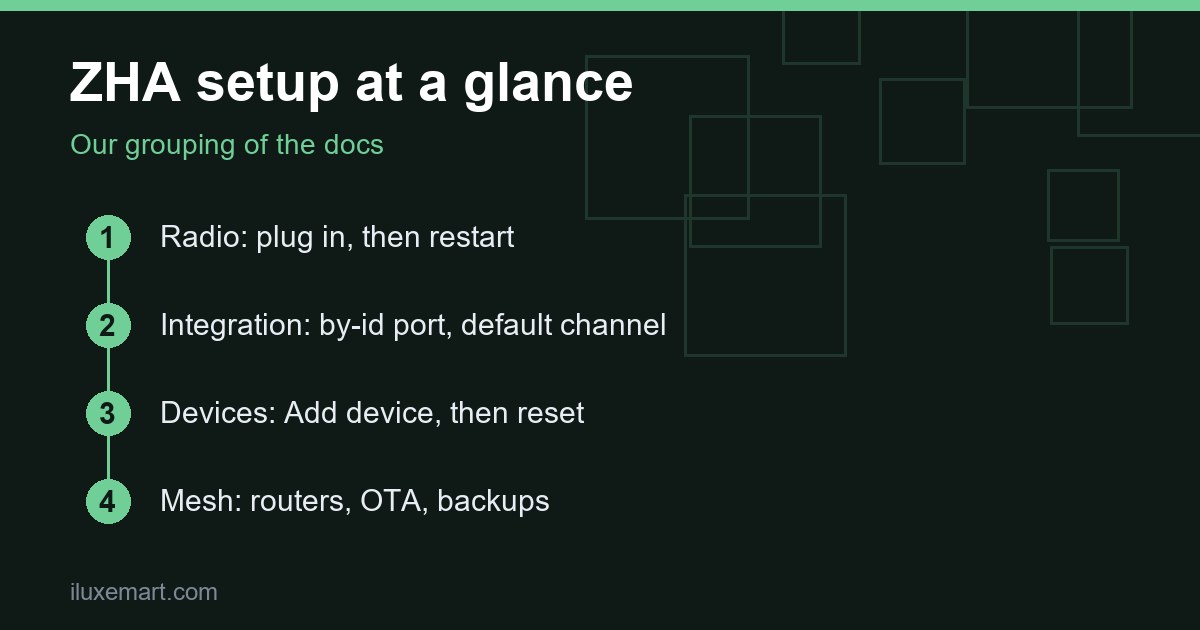
1. Choose a coordinator, plug it in and restart
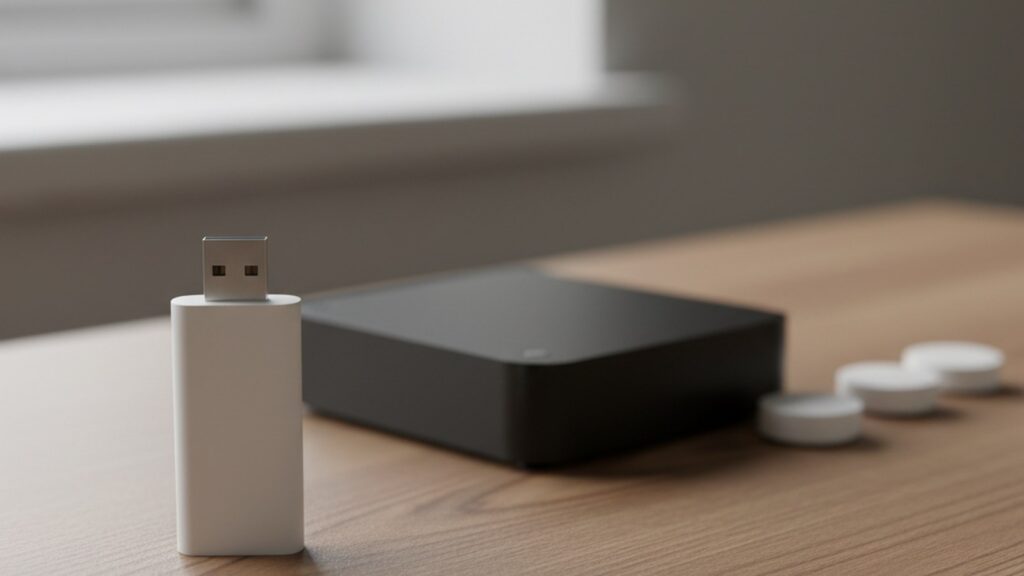
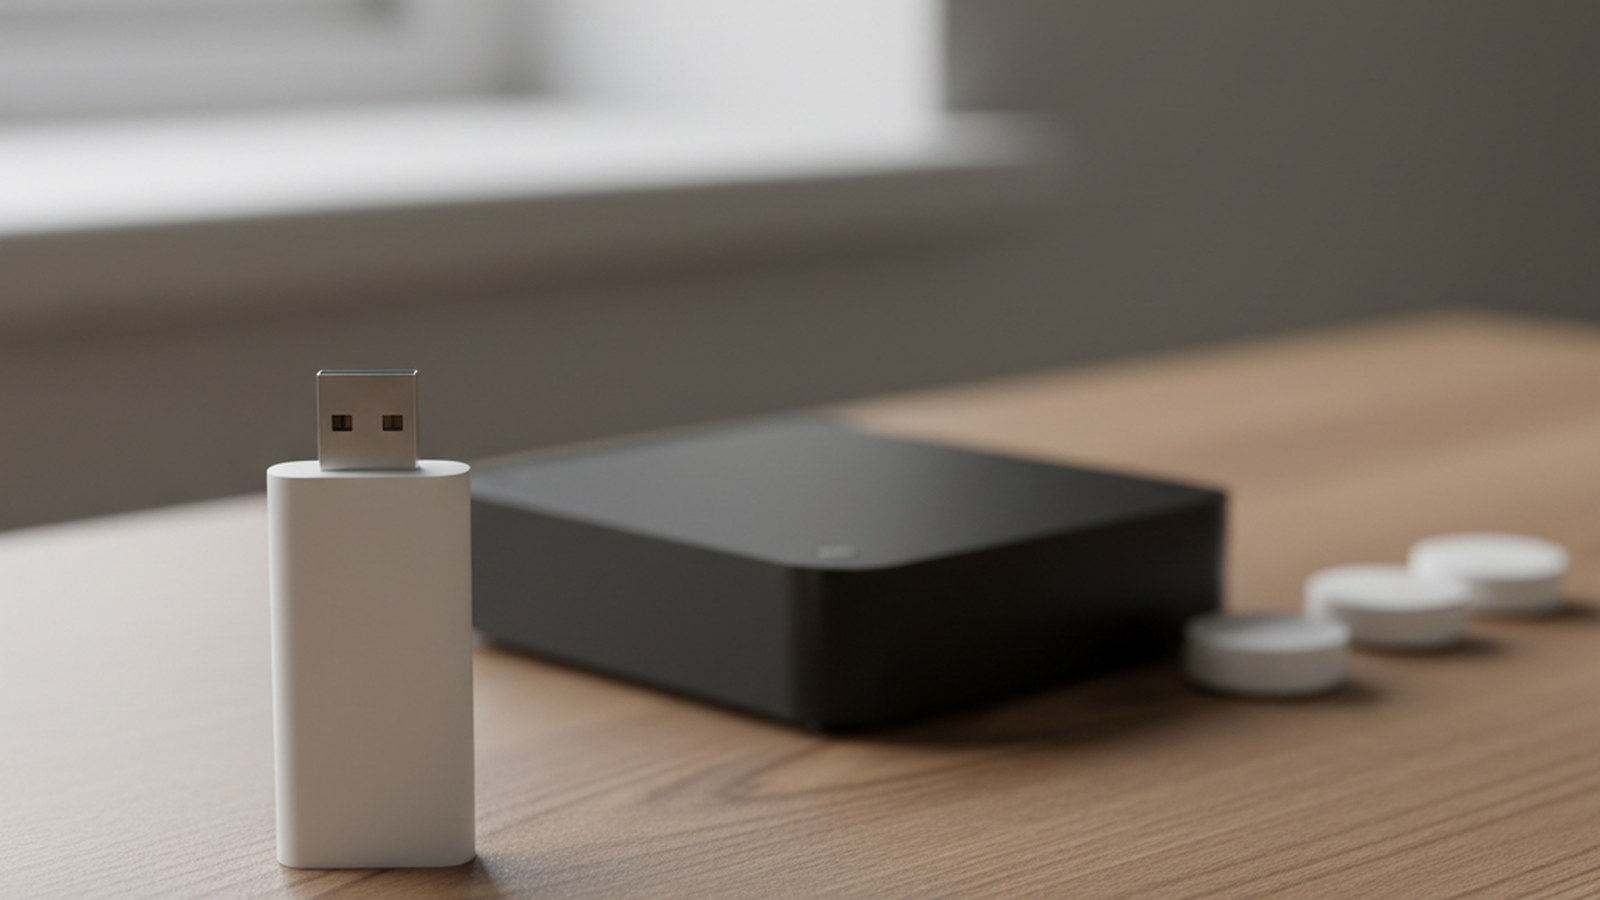
Zigbee devices form a mesh with a Zigbee adapter, also called a coordinator, connected to the system that runs Home Assistant. The Zigbee page says that with Home Assistant Green, or any other computer running Home Assistant, you add an adapter. Yellow has a built-in Zigbee radio.
What the pages say about adapters:
- New network: the ZHA page names the Home Assistant Connect ZBT-2 as the recommended choice if you have no coordinator yet.
- Older official stick: the Zigbee page says the ZBT-1 is discontinued, replaced by the ZBT-2, but fully supported if you already own one.
- Other makers: the page lists tested and compatible adapters that are not official hardware. For example, it lists the Sonoff ZBDongle-E and the SMLIGHT SLZB-07, plus CC2652- and CC1352-based sticks flashed with Z-Stack firmware and the ConBee III. Home Assistant does not update their firmware, so you use the maker’s tools. Our Sonoff Zigbee dongle buying guide covers the first one.
- One protocol per stick: on the ZBT-2 product page, the maker says it cannot run Zigbee and Thread at the same time and recommends dedicating it to one protocol.
- Remote radios: the Zigbee page cautions against running a coordinator through a Serial-to-IP bridge over Wi-Fi, WAN or VPN. It describes a wired Ethernet route through the Connect AUX-2 for the ZBT-2.
Connect the radio and restart Home Assistant before you configure anything. The ZHA page marks that order as important for any Home Assistant Zigbee setup.
Placement matters too. The ZHA page says to keep the adapter as far as possible from interference sources, “preferably by using an adequately long shielded USB extension cable” on a USB 2.0 port. If a computer only has USB 3.x ports, it suggests a powered USB 2.0 hub, and it says to keep the adapter away from power supplies, appliances and Wi-Fi access points.
2. Add the ZHA integration
ZHA can be auto-discovered. If Home Assistant found your radio, the integration shows as Discovered and you can set it up straight away.
If not, the page gives a manual route:
- Go to Settings > Devices & services.
- Select Add Integration, then Zigbee Home Automation.
- Pick the Serial Device Path for the port your radio is on, then Submit.
The integration then tries to detect the radio type. If that fails, you choose one. The page lists five options: ezsp (Silicon Labs), deCONZ, znp (Texas Instruments), zigate and xbee. It gives the ZBT-1 and ZBT-2 as ezsp examples. You may then be asked for a port speed and data flow control, which the page says are not applicable to all radios.
Which path to enter. If you type a USB path yourself, the pages say to use the /dev/serial/by-id link, not something like /dev/ttyUSB0. To find it, go to Settings > Connectivity > Serial, select Port information next to your radio, and copy the Device field. The Serial page explains why: ttyUSB-style paths are assigned when the adapter is detected and can change, while the by-id link stays the same if you move the adapter to another USB port. Built-in and network radios are different; the pages show socket:// URLs for network ones. Press Refresh in the Serial panel if a port is missing.
If you see an error. The ZHA page says an error is likely if Home Assistant cannot access the USB device, or the device is not up to date. Its troubleshooting section covers further cases, such as Docker and Linux hosts, which we did not test.
3. Check the network information, then leave the Zigbee channel alone
Once ZHA is configured it creates the Zigbee network by itself. Go to Settings > Connectivity > Zigbee and select Network information. The page lists the channel, PAN ID, extended PAN ID, coordinator IEEE address, radio type, serial port and baudrate (direct serial only). The channel is the only field you can change.
Valid channels run from 11 to 26. On changing them, the page is firm: “The best practice is to not change the Zigbee channel from the ZHA default.” The Zigbee page adds that the general recommendation is channels 15, 20 or 25, partly because not all devices support all channels.
If you do change it, three details from the page matter:
- The Smart option scans once and prefers 15, 20 and 25. It does not keep watching for interference.
- It might take up to an hour for all devices to reconnect. Power cycling your end devices can speed this up.
- For Wi-Fi overlap, the page says it is usually better to try a static Wi-Fi channel first.
In our view, if you do decide to change it, doing so before any devices are paired avoids reconnection time.
4. Add your devices
The ZHA page gives the steps for pairing:
- Go to Settings > Connectivity > Zigbee.
- Select Add device (bottom right) to open the network for joining.
- Factory reset the device, following the maker’s instructions. The page’s example is turning lights on and off up to 10 times, and it says switches usually have a reset button or pin.
- Wait. It may take a few seconds. Select Show logs for more detail.
- Once it joins, it appears on that page. You can rename it and give it an area, now or later.
The Zigbee page lists practices that help when pairing fails:
- Routers first. Start with mains-powered devices before battery ones, since a weak mesh can stop some devices pairing.
- Pair in place. Pair where the device will live. Pairing next to the coordinator and moving it later can degrade the connection.
- Reset old devices. A device previously paired to another network will likely need a manual factory reset.
- Check batteries. Some battery devices have pairing problems at low voltage.
- Be patient. Some devices need repeated attempts. For Xiaomi/Aqara devices, the page mentions 10 to 20 minutes or longer.
The page also lists router brands that Xiaomi/Aqara devices are known not to work with. We left that list out, so check the page if you own those devices.
Two limits belong here. A Zigbee device can connect to only one coordinator, which the ZHA page calls a limit of the Zigbee protocol itself. And the coordinator cannot already be used by another application. Battery-free Green Power devices are handled separately; the page says support for them was added in Home Assistant 2026.11.0. If you run an older release, we could not confirm what applies.
5. Keep the mesh healthy
A Home Assistant Zigbee setup does not end at pairing. Four themes recur in the pages.
Routers and the mesh. The Zigbee page says many always-powered wall plugs or light bulbs will automatically act as routers that repeat signals, and that some routers do a much better job than others. It says “Zigbee router devices are meant to be always available.” Coordinator firmware limits how many devices connect directly. The page states that Zigpy, the library ZHA depends on, has an upper limit of 32 direct children, while hundreds of devices can connect indirectly through routers.
Firmware updates. The ZHA page says over-the-air (OTA) updates are enabled by default. They exist for devices whose makers publish images publicly, and ZHA enables only some providers by default (the page lists Ledvance, Sonoff, Inovelli and ThirdReality). It warns that some updates can break features and, in rare cases, brick devices. Its OTA troubleshooting section says to install fresh batteries in the device before updating.
Backups. ZHA makes automatic backups of the Zigbee network, and you can make manual ones under Network Settings. The page says that after restoring a Home Assistant backup you can reconfigure ZHA or migrate to a new coordinator “without any loss of your settings or devices.” Migration has conditions. It covers Silicon Labs, Texas Instruments and ConBee/RaspBee adapters, only if the backup was made inside ZHA and the previous adapter was not used in deCONZ or Zigbee2MQTT. Devices cannot be controlled until they rejoin, which the page says normally takes up to one hour. For the Home Assistant side, see our guides on Home Assistant backup to a USB drive and the Home Assistant test restore.
Device support. The ZHA page says it supports all standard Zigbee device types, with exceptions the page lists, such as devices that can only use the ZSE (Zigbee Smart Energy) profile. There is no official compatibility list. Devices that do not follow the standard may need custom handlers called quirks, which depend on volunteers.
Home Assistant Zigbee setup checklist
- Pick a coordinator and check that it suits your hardware (step 1).
- If you use a USB stick, plug it into a USB 2.0 port, ideally on a shielded extension cable, then restart (step 1).
- Add Zigbee Home Automation and choose the by-id port (step 2).
- Open Network information and leave the channel at its default (step 3).
- Pair mains-powered devices first, in the place they will be used (step 4).
- Check the update and backup options before you rely on the network (step 5).
Honest limits of this Home Assistant Zigbee setup guide
- We tested nothing. This is a documentation roundup, not a build log.
- We make no claim that any adapter or device will work on your system, or that pairing will succeed first time.
- The pages describe Home Assistant as of the date below. Menu names and supported hardware change, so re-read them before you start.
- Port paths in the pages are Linux-style. We could not confirm what applies elsewhere.
- We give no prices, and the ZBT-2 page was used only for what the product can and cannot do.
- Statements marked “in our view” are our reasoning, not the official pages’.
Your next step
Before buying or plugging in anything for your Home Assistant Zigbee setup, read the ZHA page through the Configuration section once. Then plug in your radio, restart, and add the integration. Pair your mains-powered devices first; our smart plug local control checklist is one place to look for an always-powered device to start with. More privacy-first guides are in our no-subscription smart home guides.
How we checked
We read each page below on 18 November 2026. This is a documentation roundup of a Home Assistant Zigbee setup; we did not install, pair or test anything. Claims marked “in our view” are our own reasoning.
Sources read 18 November 2026: Home Assistant, Zigbee Home Automation, Home Assistant, Zigbee, Home Assistant, Serial, Home Assistant, Connect ZBT-2.
More in this series: No-subscription and private smart home guides.