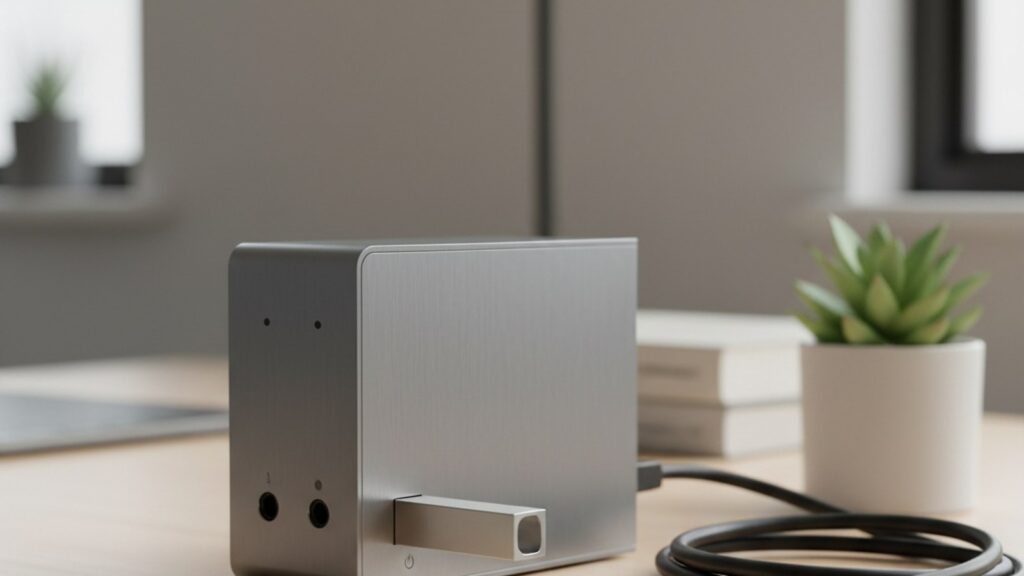
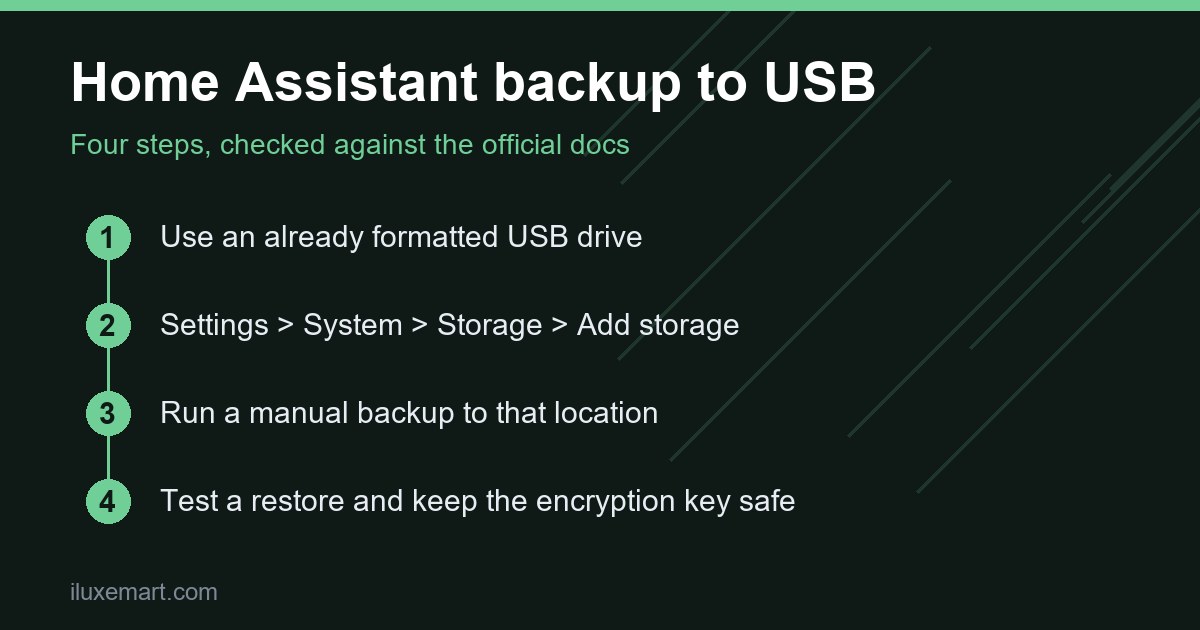
Setting up a Home Assistant backup USB drive takes three steps: plug in a drive that is already formatted, add it under Settings > System > Storage as a local disk, then choose it as a location when you create a backup. Since release 2026.11, Home Assistant supports an internal or USB drive for backups and media, so you no longer need a network share for this. The steps below follow the official documentation; where the docs do not say, this guide says so instead of guessing.
Table of Contents
Why back up before every update
An update can change your data, and installing an older version afterward does not undo that. The Home Assistant container installation page describes this for container installs: recreate the container with an older image, then restore a backup made while you ran that version, because installing an older version alone does not undo data changes. I could not confirm the exact steps for Home Assistant OS in the official docs.
A backup taken just before an update is your way back. If you have not read what changed in the latest release, see what to check before updating to Home Assistant 2026.11. If you are newer to the platform, this beginner-friendly update overview explains why it has become easier to run.
What a Home Assistant backup contains
According to the official backup page, a backup is a single compressed .tar archive and is encrypted by default. On Home Assistant OS:
- The minimum is your Home Assistant settings, which includes the
configandsslfolders. Automatic backups always include these. - Optional parts are History, Media, the Share folder, the Local apps folder, and Apps.
- Logs, caches, and older backups in the
backupsandtmp_backupsfolders are left out.
Choosing more parts makes a larger backup. The 2026.11 release post notes that backups and media take up a lot of space and that the best place for them is often not the drive Home Assistant runs on, which is the reason a separate disk, such as a Home Assistant backup USB drive, helps.
Step 1: Prepare the USB drive
Home Assistant does not format disks for you. The Home Assistant OS common tasks page says the disk must already be formatted, and lists these supported file systems:
- ext2, ext3, ext4
- FAT and FAT32 (shown as
vfat) - exFAT
- NTFS
- Btrfs
- F2FS (needs Home Assistant OS 18.3 or later)
If your drive uses something else, the docs say to format it on a computer first. Formatting erases what is on the drive (general advice, not from the docs). The docs also state that disks already in use, or that belong to Home Assistant, are not listed as choices.
Step 2: Set up Home Assistant backup USB storage
With the drive plugged in, follow the steps from the docs:
- Go to Settings > System > Storage and select Add storage.
- For Type, select Local disk.
- Give it a Name (this becomes the name of the mounted directory), choose the Disk, and set Usage to Backup.
- Select Connect.
Do not tick Read-only. The docs state that backup storage cannot be read-only, and that a write-protected disk can only be added as read-only. If the drive does not appear, reopen the dialog; the docs note this is needed when you connect a disk while it is open.
For a Home Assistant backup USB drive, the docs do not give a recommended size or brand, so this guide does not either. Check the size of your backup first (see Step 3) and pick a drive comfortably larger than that.
One more point from the docs: Home Assistant identifies the disk by its file system identifier rather than a device name, so it should keep working after a restart. If the disk is missing at startup, you get a repair under Settings > System > Repairs, and anything using it gets an error instead of silently writing to internal storage. After reconnecting, mounting can take up to 15 minutes, or you can open the repair and select Reload.
Step 3: Create a backup to the USB drive
Manual backup, per the backup page:
- Go to Settings > System > Backups.
- Select Backup now in the lower-right corner, then Manual backup.
- On the Backup data step, choose what to include and select Next.
- On the Synchronization step, enter a Backup name and choose Locations. Pick your USB disk here.
- Select Create backup.
The docs do not spell out how the USB disk is labelled in the Locations list, so look for the name you gave it in Step 2.
Make it automatic
On the same Backups page, select Set up backups. The Recommended option backs up daily, keeps the last 3 backups, and stores them on this system (and on Home Assistant Cloud if you are logged in); it leaves out the media, share and local apps folders. Choose Custom to set the schedule, time, retention, data, and locations. Retention removes older automatic backups but does not delete manual ones. To change settings later, use Configure backup settings on the Automatic backup card.
Backups made without a specific location, such as the ones taken before app updates, go to the default backup location. The Home Assistant OS page says the first network storage you add with Backup usage becomes the default location. It does not say a local USB disk becomes the default, so check the default location after adding one. To change it, go to Settings > System > Backups > Configure backup settings, open the three-dots menu, and choose Change default action location. This path is documented on the Home Assistant OS page.
Keep the encryption key safe
The docs say each system has its own encryption key, and backups made with it can only be decrypted with that key. You can download an emergency kit, a text file containing the key, under Encryption key on the Backups page. Store it safely; keeping it somewhere other than the same USB drive is my own advice, not from the docs. If you restore onto a new system during setup, the docs list the emergency kit among the prerequisites.
Home Assistant restore backup: two ways to do it
There are two paths in the docs.
On your current system: in Settings > System > Backups, select Show all backups (upload a file first if needed), select the backup, choose what to restore under Select what to restore, select Restore, and confirm. If the backup uses a different key, enter it. Home Assistant restarts, and you log in with the credentials from when the backup was made. On Home Assistant OS the docs list requirements: an internet connection, at least 2 GB of free storage, and a healthy system.
On a fresh install: on the welcome screen, select Upload backup, choose the parts to restore, enter the key from your emergency kit, and select Restore backup. Do not refresh the page while it reinstalls; the docs say a “Not found” message is expected during this time.
Release 2026.11 also changed restores so that a temporary copy of the full backup is no longer created first, which the release post says saves free space and time.
Test your restore
The official backup page does not describe a restore test, so this is general good practice rather than a documented procedure. A backup you have never restored is only an assumption. At minimum:
- Open Show all backups and confirm the newest backup on the USB drive is listed with a sensible size.
- Download one and check the file is not empty.
- If you have a spare device, try the fresh-install restore path there with your emergency kit, so you know the key works before you need it.
When you test your Home Assistant backup USB restore, avoid testing a full restore on your only live system without a second, recent backup stored elsewhere, because a restore overwrites current data.
A short word on 3-2-1
The common 3-2-1 idea is three copies of your data, on two kinds of storage, with one copy off-site. The Home Assistant docs do not name the rule, but they do recommend keeping a copy on another system outside Home Assistant and ideally one off-site. A USB drive plugged into the same box is convenient, but fire, theft, or a power surge can take both. Copy a recent backup elsewhere, such as a network drive; our home NAS backup buying guide covers that side.
What the docs do not tell us
- Whether the local disk option works on installation types other than Home Assistant OS. The docs we read describe it under Home Assistant OS, so check the common tasks page for your setup.
- Which drive size or type is best, and how long a USB drive lasts under daily backups.
Next step
Plug in a formatted drive, add it as storage, and run one Home Assistant backup USB test today. Then set up the automatic schedule and download your emergency kit. Read the full Home Assistant backup documentation and the 2026.11 release post for anything specific to your version.
Sources checked 10 November 2026: Backups, Home Assistant OS common tasks, 2026.11 release post.
More in this series: No-subscription and private smart home guides.