
A Home Assistant installation comes in two types, and the project’s own page says Home Assistant Operating System (HA OS) is the recommended one for most users. The other is Home Assistant Container, where you bring your own system and container software. We read three Home Assistant pages on 20 November 2026. We tested nothing and installed nothing, and we give no prices and no product picks.
This post is a read of the official home assistant installation docs, not a hands-on comparison, and it promises no outcome. Each point is attributed to the page that states it. Where we add reasoning, we mark it with the words in our view. The pages show no dates, though each header showed version 2026.11.2, so details may change.
Table of Contents
Home Assistant installation starts with your own hardware
The installation page opens by saying Home Assistant runs on your own hardware, so the smart home keeps working when the internet is down and data stays at home. That fits the private, local angle this site cares about. The page then groups the ways in under three headings.
The first is Home Assistant Green, which the page says comes with HA OS already installed. The second is to flash HA OS onto hardware you own, such as a Raspberry Pi, an Odroid or an x86-64 machine, which the page calls the recommended type for most people who bring their own hardware. The third covers Docker and virtual machines (VMs) on a system you manage yourself.
Home Assistant installation: the two types in plain words
The page’s section on installation types defines both options.
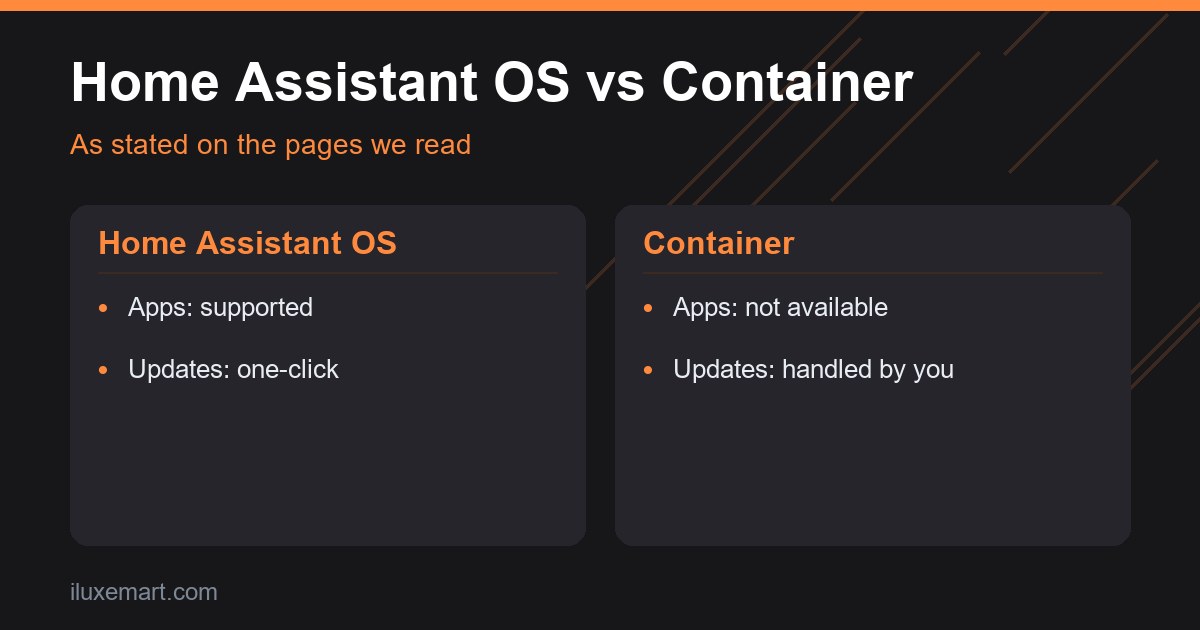
Home Assistant OS. The page describes it as a small, purpose-built operating system for single-board computers and virtual machines, which it calls the most convenient for installation and maintenance. It supports apps. Apps, per the page’s glossary line, are separate third-party software packages added on top of HA OS.
Home Assistant Container. The page describes a container-based install where you bring your own system, such as Linux, with container software such as Docker, and you handle updates manually. It adds that Container installs do not have access to apps.
One more note on the same page: some integrations, Thread and Z-Wave named as examples, are controlled by apps. So there is no out-of-the-box support for them on Container installs. Our Zigbee setup guide for ZHA covers a different radio.
Home Assistant installation compared: the official features table
The page includes a table with seven rows and two columns. Per the page’s HTML, a tick means supported and a cross means not supported:
| Feature | HA OS | Container |
|---|---|---|
| Automations | Yes | Yes |
| Dashboards | Yes | Yes |
| Integrations | Yes | Yes |
| Apps | Yes | No |
| Blueprints | Yes | Yes |
| One-click updates | Yes | No |
| Backups | Yes | Yes |
Five of seven rows match. The two that differ are apps and one-click updates. In our view, the features you build are listed as the same on both, while the work of keeping the system running is not. The page says nothing about speed or reliability.
Backups are ticked on both, though the table does not say how they work on each type. Our USB backup guide covers one route, and our guide to testing a restore covers the step many people skip.
Home Assistant installation options by skills and tools
Each option on the installation page carries a list of skills and a list of tools. We summarise them here.
- Home Assistant Green. Skills: interest in setting up a smart home, and setting up a system without a monitor or keyboard. Tools: an Ethernet connection.
- Raspberry Pi with HA OS. Skills: assembling a Pi setup, flashing it, and headless setup. Tools: a Raspberry Pi 4 or 5 with power supply (minimum 2 GB RAM), a microSD card and Ethernet.
- Odroid with HA OS. Skills: writing a boot image to an SD card or eMMC, installing the card or eMMC, and headless setup. Tools: an Odroid device, a microSD card or eMMC, and Ethernet.
- x86-64 machine with HA OS. Skills: writing a boot image to a USB stick, configuring the BIOS, and headless setup. Tools: an x86-64 machine, a storage hard drive, a USB stick and Ethernet.
- Container on a Raspberry Pi. Skills: the Pi assembly and flashing skills, working headless, using Docker and the Linux command line. Tools: a Raspberry Pi 3, 4 or 5 with power supply, a microSD card and Ethernet.
- Linux. Page text: use HA OS or Container. Skills: using Linux, the command line, and Docker Compose for Container. Tools: a machine with Linux.
- macOS and Windows. Page text: use HA OS on a VM. Skills: setting up a VM and using that system’s command line. Tools: the machine plus virtualization software.
- Other systems. VMs, Container on a NAS, or others. Skills: setting up a VM or NAS app, and finding a device’s IP address on your router. Tools: a system that can run VMs or containers.
The page says the VM and container options suit people comfortable with the command line, containers or virtualization. In our view, that is the clearest signal on the page about who each route is for.
Home Assistant installation with a ready-made Green
The Green page says Home Assistant Green is designed and built by Nabu Casa, the company behind Home Assistant. It describes a plug-and-play setup: connect the power adapter and Ethernet cable, then use a mobile or web app to guide you through setup.
The Green page says a Home Assistant Cloud subscription is recommended for seamless integration with Google Home and Amazon Alexa voice assistants, and for webhooks with Samsung SmartThings. In our view this suggests the base install does not need a subscription, but the page does not say so. We give no price. Our Green versus Raspberry Pi comparison looks at the two in more depth.
Home Assistant installation on Linux: a VM or a container
The Linux page covers both types, which makes it a good place to see the contrast.
HA OS in a VM. The page says to follow this route if you already run a supported hypervisor, and to install HA OS directly on Yellow, a Raspberry Pi or an ODROID if you are not familiar with virtual machines. It offers image formats for VirtualBox, KVM and VMware. For resources, it lists a minimum of 2 GB of RAM and 2 vCPUs, and says you can increase them later if the workload grows.
In the VirtualBox walkthrough, the page says to select the EFI option because Home Assistant requires UEFI to boot. It also says to set the network to a bridged adapter, so Home Assistant can talk to other devices on your network. Afterwards, the page says you can reach Home Assistant at homeassistant.local, with port 8123 as a fallback.
Container with Docker. The page assumes you already have an operating system and a container runtime. It says any OCI-compatible runtime can work, but the guide focuses on Docker. If you use Docker, you need Docker Engine 23.0.0 or later, and the page states Docker Desktop will not work. Once the container runs, the page says you reach Home Assistant at the host’s address on port 8123.
Home Assistant installation on Container: what you handle
The Linux page shows what manual updates mean in practice. This is the page’s description, and none of it was tried.
- Updates. The page gives a pull, stop, remove and start sequence for a Docker container.
- Shutdown time. Docker’s default wait before forcing a stop is 10 seconds, which the page says Home Assistant can need longer than to close its database. It gives a 60 second timeout as its example.
- Devices. For Zigbee or other hardware, the page says to map the device into the container.
- Firewall. On newer Linux distributions, you may need to open TCP port 8123.
In our view, the update steps are the work HA OS is described as handling for you. The page says its Supervisor keeps it up to date and removes the need to manage an operating system. It does not say the same about device mapping or firewall rules.
Which home assistant installation fits: questions to ask
This section is our reasoning, built on the pages’ skill lists. The docs call HA OS recommended for most users and go no further.
- Do you want to manage an operating system? In our view, if the answer is no, the pages point to HA OS, on a Green or on hardware you own.
- Do you need apps? The table says Container has none. If a feature you want runs as an app, that settles it.
- Do you already run Docker or a NAS? The other-systems entry and the Container skill lists assume you do.
- Are you comfortable with the command line? The page says VM and container routes suit people who are.
- Do you plan to use Thread or Z-Wave? The page links those to apps, so check before choosing Container.
- Do you have spare hardware? The page lists Pi, Odroid and x86-64 for HA OS, and a VM route for macOS and Windows.
A 6-step Home Assistant installation checklist
This ordering is ours, built on the pages above. We tested none of it, and your setup may differ.
- List what you want to run. Note any feature that depends on apps.
- Check your skills against the page’s lists.
- Confirm the hardware, including the 2 GB RAM and 2 vCPU VM minimums.
- Choose the type. The page recommends HA OS for most users.
- Read the matching install page in full before you start.
- Plan a backup and a restore test once it runs.
What we could not confirm
- We tested nothing. We ran no home assistant installation and no command.
- We make no claim about performance, speed or reliability of either type. The pages make none.
- We cannot say which home assistant installation type is better for you. The page’s own wording is that HA OS is recommended for most users.
- We did not check which apps exist, or whether a specific app works on a NAS. The page only says NAS install options exist.
- We did not read the Raspberry Pi, Odroid, x86-64, macOS, Windows or other-systems pages, so their steps are not covered.
- How backups work on each type is not in the pages we read.
- The pages carry no dates, so versions, minimums and defaults may change. Statements marked in our view are our reasoning, not the Home Assistant project’s.
Your next step
For a first home assistant installation decision, open the installation page and read the section on installation types against the apps and one-click updates rows. If you still lean to HA OS, compare our Green versus Raspberry Pi guide before you decide, and plan a backup with our USB backup guide.
How we checked
We read each page below on 20 November 2026. This is a documentation read, not a test. We did not set up, change or test any home assistant installation method, and we ran no home assistant installation of our own.
Sources read 20 November 2026: Home Assistant, Installation, Home Assistant, Linux, Home Assistant, Home Assistant Green.
More in this series: No-subscription and private smart home guides.