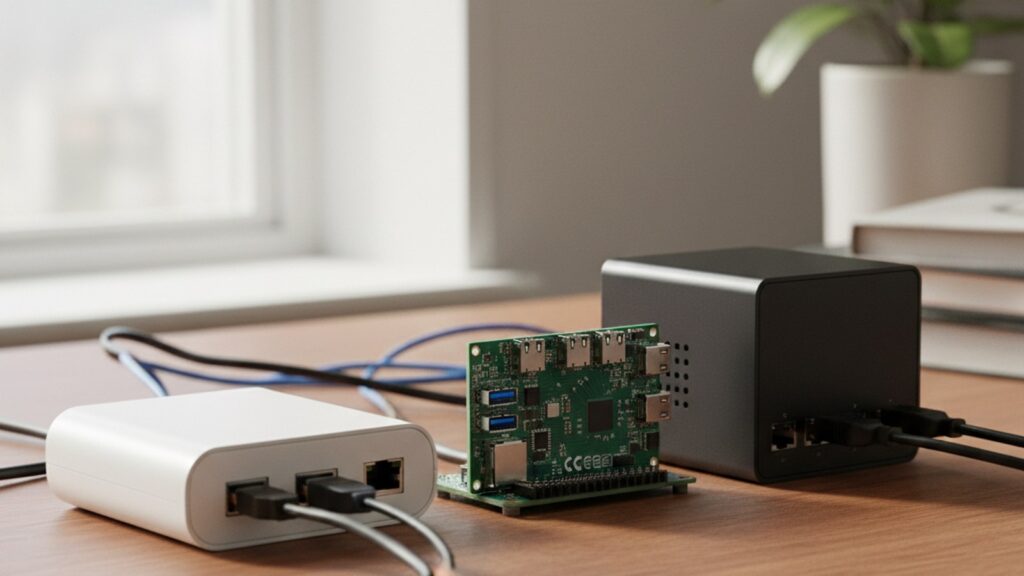
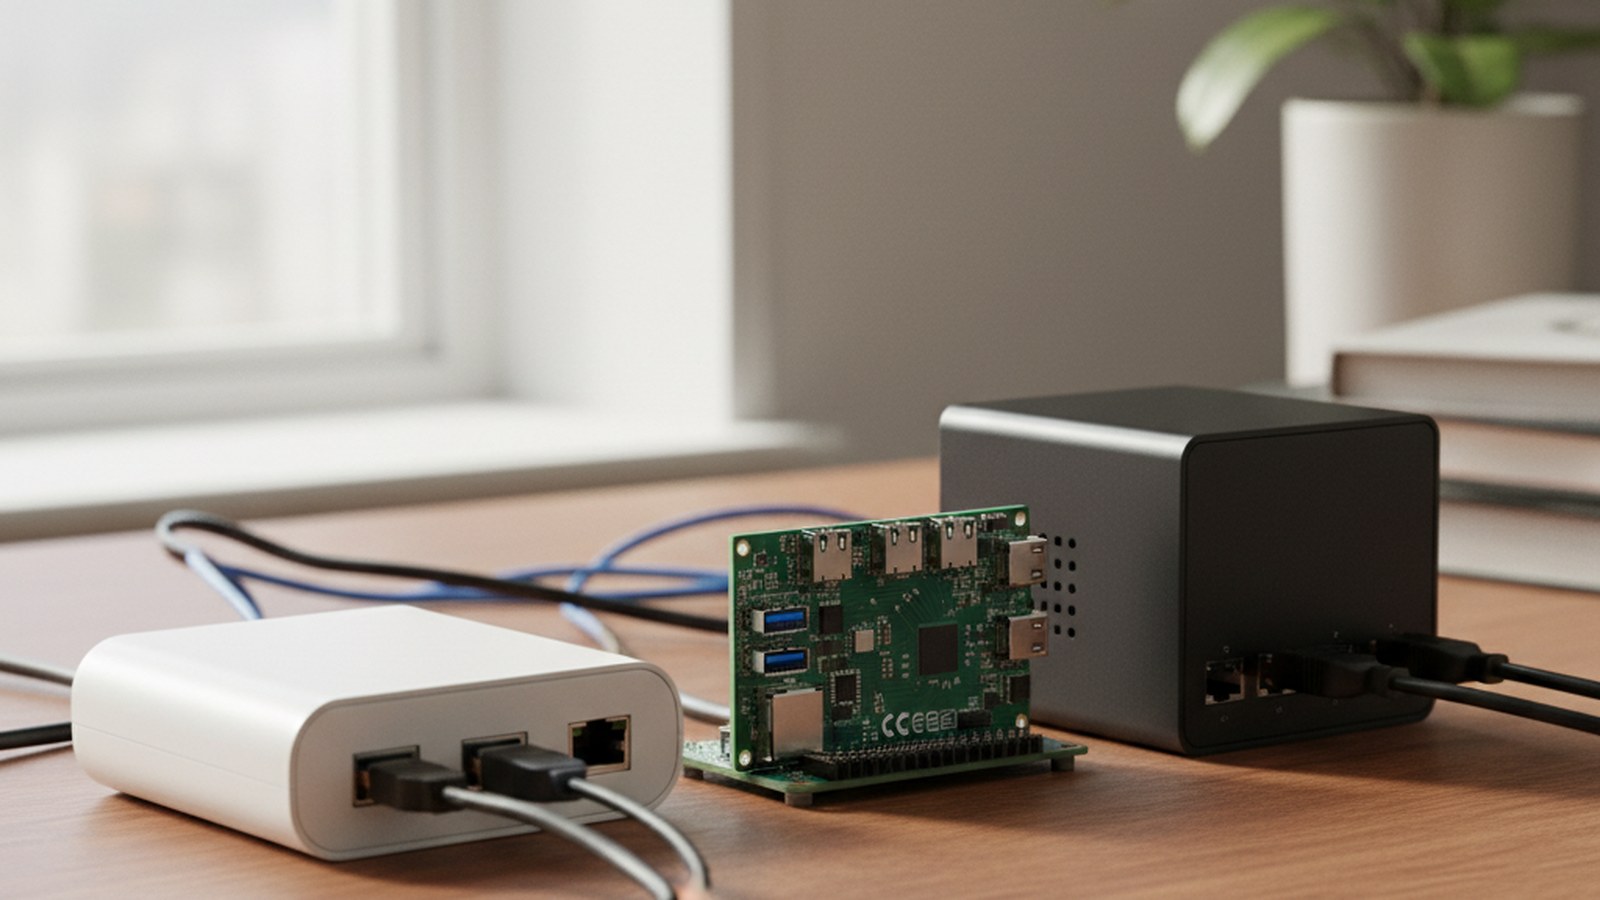
The home assistant green vs raspberry pi question comes down to one trade: pay for a ready-made box, or bring your own hardware and do a little setup. Home Assistant runs on all of them, and the docs name no single best device, though they call Green the quickest start. This home assistant green vs raspberry pi guide, which also covers an x86-64 “mini PC”, uses the official installation pages, and it flags where the answer is my judgement rather than a documented fact.
All facts below were read on 10 November 2026 (Home Assistant 2026.11.1 documentation). I could not confirm Raspberry Pi or mini PC prices, so none are given.
Table of Contents
The short answer
- Never done this before, want the least work: Home Assistant Green.
- Already own a Raspberry Pi 4 or 5: use it.
- Have a spare computer: an x86-64 machine you already own is a documented option.
- Buying new hardware and comfortable with BIOS settings: a small x86-64 PC is possible, but the docs give no price or model advice.
The sections below explain why each home assistant green vs raspberry pi pick looks this way. Anything the docs do not state is labelled as my judgement.
What Home Assistant Green includes
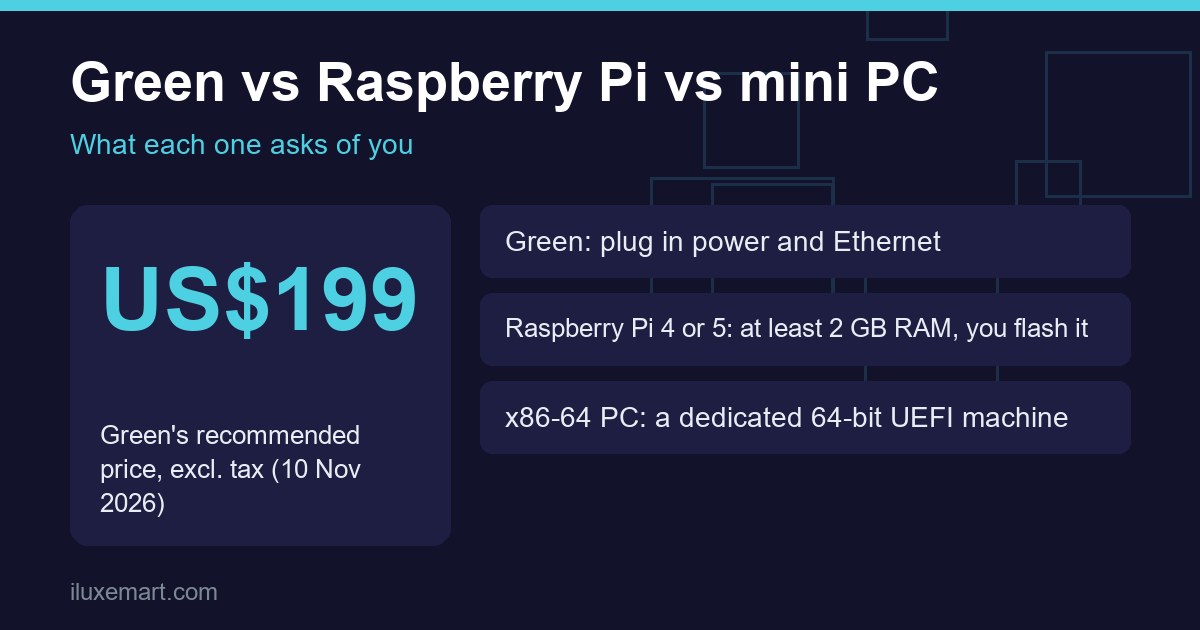
According to the Home Assistant Green page, Green comes with Home Assistant Operating System already installed. You plug in the included power adapter and Ethernet cable. An internet connection is needed for the initial setup. The box contains:
- the Green hub
- one Gigabit Ethernet cable
- a 12 V DC, 1 A universal power supply with plug adapters for EU, US and UK
- a Quick Start Guide and warranty and safety information
The recommended MSRP was US$199 or 179 EUR when I read the page. The page notes that USD prices exclude taxes, EUR prices include them, and prices differ by region and retailer.
Green specs
The page lists a Rockchip RK3566 chip with a quad-core Arm Cortex-A55 CPU at 1.8 GHz, 4 GB of memory, and 32 GB of eMMC storage. It has two USB 2.0 ports and Gigabit Ethernet. Listed power draw is about 1.7 W idle and about 3 W under load. The HDMI port is for diagnostics only, and the microSD slot is for recovery only.
I found no benchmark in the sources, so I make no speed claims.
Home Assistant Green vs Raspberry Pi: what you do yourself
On the home assistant green vs raspberry pi question of effort, the installation page lists the skills for Green as an interest in setting up a smart home and setting up a system without a monitor or keyboard. The only tool needed is an Ethernet connection.
For a Raspberry Pi, the same page lists more skills: assembling a Raspberry Pi setup, flashing a Raspberry Pi, and working without a monitor or keyboard. The Raspberry Pi guide names the hardware:
- a Raspberry Pi 5 or Raspberry Pi 4 with a power supply, with at least 2 GB of RAM
- a microSD card, ideally Application Class 2 (look for the A2 label), at least 32 GB
- an SD card reader, if your computer lacks one
- an Ethernet cable, required for installation
How the Pi setup works
You write Home Assistant OS to the card with Raspberry Pi Imager, insert it, plug in Ethernet and power, then open homeassistant.local in a browser. The guide says that page should be available within a minute on a Pi 4 or 5. If it has not appeared after 5 minutes, the docs suggest the image may not have been written properly, so reflash the card or try another one.
The guide also warns that mobile chargers may not suit a Pi, and that USB ports on a computer do not supply enough power. Buy a proper power supply.
Home Assistant mini PC: using an x86-64 machine
The docs do not use the term “mini PC”. They call it a generic x86-64 machine, and the x86-64 guide describes a “dedicated Generic x86-64 PC”, typically Intel or AMD-based. The installation page card for this option reads “Repurpose workstation hardware to run Home Assistant”. A home assistant mini PC is simply my everyday name for a small computer of this type. That is judgement, not a documented category.
The requirements from the guide:
- a dedicated PC that runs only Home Assistant OS
- 64-bit capable and able to boot with UEFI
- UEFI boot enabled and Secure Boot disabled in the BIOS
- a boot medium that supports 512-byte logical sectors, since some NVMe SSDs and hard drives use native 4K sectors and cannot boot Home Assistant OS
- an Ethernet connection, because first start downloads the latest Home Assistant Core
The installation page lists the skills as writing a boot image to a USB stick and configuring the BIOS. The guide’s recommended method boots Ubuntu from a USB flash drive of at least 8 GB and restores the image to the internal disk. Installing erases the machine’s existing data, so the docs advise backing up first.
Which one should you pick?
The table below puts the home assistant green vs raspberry pi choice next to the other options. It uses the skills, tools and inclusions from the pages above, and the last column is judgement.
| Option | Skills the docs list | What you need | Judgement: who it suits |
|---|---|---|---|
| Home Assistant Green | Interest in a smart home; setup without monitor or keyboard | Ethernet; power adapter included | First-timers who want the least work |
| Raspberry Pi 4 or 5 | Assembling, flashing, setup without monitor | Pi (2 GB RAM or more), power supply, microSD (A2 ideal, 32 GB or more), Ethernet | People who already own a Pi |
| x86-64 computer you own | Writing a boot image to USB, configuring the BIOS | 64-bit UEFI PC, USB stick, Ethernet | Anyone with a spare machine |
| Docker (Container) or a VM | Command line, containers or virtualization | A system you manage yourself | Experienced users |
The Green page itself says Green suits you if you are not familiar with tinkering with a Raspberry Pi, or want a well-supported, dedicated device. It also says Home Assistant will keep supporting the Raspberry Pi.
Best hardware for Home Assistant
In the home assistant green vs raspberry pi debate, the docs name no single best hardware for Home Assistant. The installation page calls flashing Home Assistant OS onto hardware you already own the recommended type for most people who bring their own, and it says Home Assistant OS is the recommended installation type for most users.
My judgement: the best choice is whatever you already own and can set up without frustration. Buying new only makes sense once you compare current prices yourself.
The Docker (Container) option has limits
Docker and virtual machine options exist. A virtual machine can run Home Assistant OS, which supports apps. The Docker option, Home Assistant Container, is different: the installation page says it does not include apps, and you handle updates manually. It also says some integrations, such as Thread and Z-Wave, are controlled by apps, so there is no out-of-the-box support for them on Container installs. If you want the simplest path, stay with Home Assistant OS.
Zigbee, Thread and Z-Wave radios are separate
The Green page says most devices and hubs work with it out of the box, and that adding a Connect ZBT-2 gives Zigbee and Thread. It calls Green plus ZBT-2 “a single hub solution for your Zigbee or Thread powered smart home”, says the ZBT-2 “is not strictly required”, and says Thread support is “currently under development”. It adds that third-party USB accessories can support standards such as Z-Wave or Bluetooth. The Raspberry Pi and x86-64 pages I read do not cover radios, so check before buying. The Home Assistant hardware menu names Connect ZBT-2 and Connect ZWA-2. I did not open their pages, so check compatibility there before buying.
For Matter, the Green page says devices over Wi-Fi and Ethernet work once the Matter integration and Matter Server are set up. Thread-based Matter devices need a Thread border router.
Back up whatever you choose
My judgement: storage can fail, so set up backups early. The docs do not give lifetime figures, and that is true whichever hardware you pick. Our guide to a Home Assistant backup to a USB drive walks through it step by step. Before updating, read what to check in Home Assistant 2026.11, and see the beginner-friendly update overview for context.
Next step
Settling home assistant green vs raspberry pi is simple if you already own a Pi 4 or 5: start there. If you own nothing suitable, check current prices for Green against a Pi kit and a small PC from retailers you trust, since I could not source those. Then browse more no-subscription smart home guides for what to automate first.
Sources checked 10 November 2026: Home Assistant Green, Installation, Raspberry Pi, Generic x86-64.
More in this series: No-subscription and private smart home guides.